Home Studio: Make the best of a small room or flat!

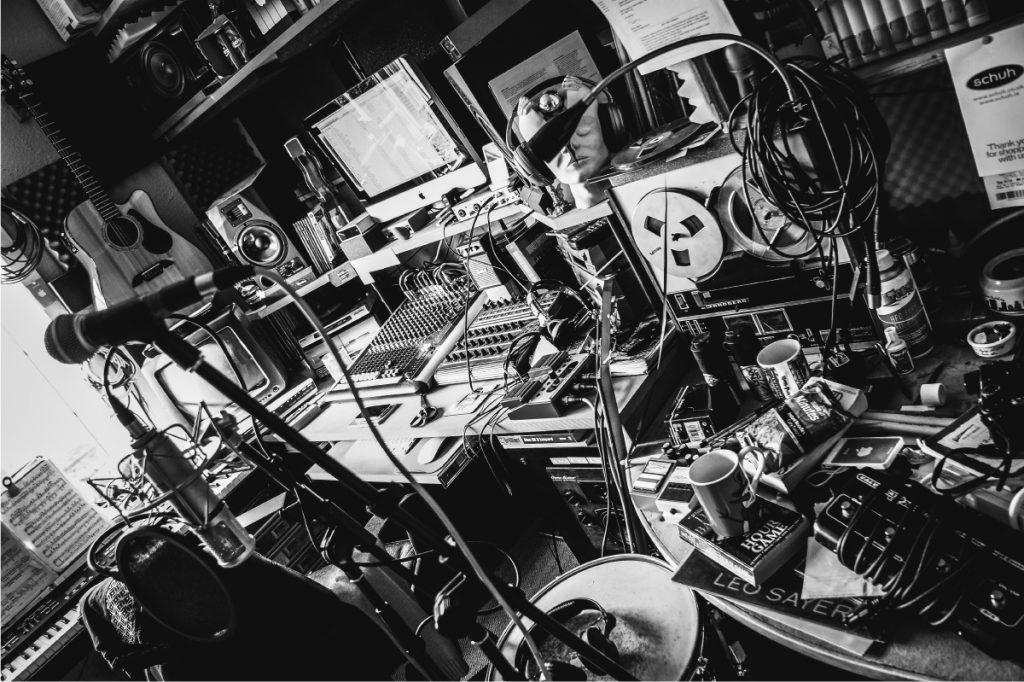
Home studio is generally a compromise: on the one hand, you have innovative technology at your disposal, on the other hand, the space or the corner of the living room used for this purpose is generally quite limited. After all, it’s not called “home studio” for nothing. Automatically, that means you have to settle in and organize yourself neatly. Here are some tips to improve the tidy synergy of DIY and possible solutions!
![]()
Gear inventory: clean up and start fresh!
The question is: How do you furnishing and arrange a home studio in a smart way so that you don’t have to start from scratch once all your cables are plugged in. First of all, you must do an inventory. What equipment do you have? This includes cables to workstations, USB sticks to PCs and displays, to interfaces, accessories and of course, instruments. What room or part of a room do you need and what accumulated accessories could end up in the trash or on eBay without anyone missing them?
Now it’s a question of organising your arsenal. Cables rolled up and in a stack, all effects pedals in one place, neatly lined-up microphones, USB drives and the like in a drawer, etc. Just sorting through will likely open your eyes to what has built up over time. The last thing you need in your tidy home studio space is a good cleaning 😉
Check your gear and make sure it’s all up to date
This means that some of the bulky devices in your collection could be replaced by space-saving digital solutions such as effects plugins released in recent years. So far away from the outdated vocoder, plate reverb, crackling DI box – the cluttered 19-inch rack can be made noticeably lighter. Of course, this is no reason to give up the classics that once gave you so much joy. It’s also clear that you don’t have to get rid of anything that might turn out to be unnecessary at the time but has proven its worth many times in the past. Only in your compact and well-thought-out home studio corner, space remains a priority.

Sort out the unused gear and pack it away
Storage units with drawers are always useful. Keyboards or compact synths, for example, but also all accessories, including storage media, tools and more, can be stored there. In the end, such a chest of drawers is nothing less than the equipment cabinet of professional workshops. You probably already have a chest of drawers or wardrobe that will certainly do the trick here, all you have to do is find another place for your socks 😉 Look out for pieces of furniture you already own and think about repurposing them for your home studio.
Make a plan to organise the space you have

Everything is sorted and reduced to the essentials? Good. The next step: we take everything out! Completely clear the space in question in order to start on a “tabula rasa” (blank slate) and bring in / install the equipment gradually, trying to ignore how it used to be.
Studio desk and multifunctional equipment

Click for product page

Click for product page
While we’re not here to revolutionise desktop setup, it’s the heart of your studio. Of course, you can use a conventional desk or even a dining table for this. To maximize functionality, however, that’s another story. No matter how tight the space is, your recording studio’s worktable should provide ample working space. It is also important to have multiple zones for the monitor (s), as well as any peripherals specific to music creation.
Ideally, your office integrates 19” racks for the installation of audio interfaces, preamps and other studio machines. There should also be a retractable tray for the master keyboard. The result is a structured and autonomous workspace. The Millenium SD-180 B StudioDesk is a good example.
Keep your cables tidy!
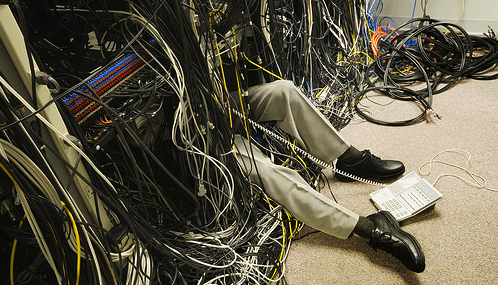
Cable management is key! Instrument and microphone cables, power cables, USB cables, patch cables… They pile up (and tangle) in no time! You must provide corresponding surface-mounted cable ducts for the power cables, in which the cables are installed in a safe and orderly manner. However, you will often be faced with new setups with different instruments and microphones while recording. So leaving the cables somewhat “makeshift” is also an option.

Click for product page
So that you don’t have to constantly crawl behind your rack or desk to find these different cables, a patch bay is an extremely useful piece of equipment for the home studio.
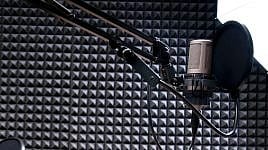
Simple options for acoustic treatment
Click for product page
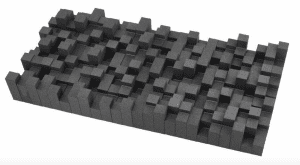
The difference between a home studio and a professional recording studio: you also want to live in your home studio. Large renovations, including installation of a vocal booth, etc. are difficult to achieve. However, you must remain in control of the acoustics of the studio space. The usual problem with living rooms and bedrooms is reflection from walls, windows and other smooth surfaces. At least the walls in the immediate vicinity of your music making setup should be treated with acoustic panels.
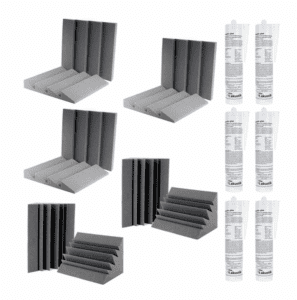
Mobil acoustic panels for dummies
Mobile acoustic panels are useful for your recordings. With a little dexterity and elbow grease, you can put them together without much effort. To do this, you just need to saw a few boards to the desired length and then screw them together to form a frame. You fill this frame with a plywood board which can then be covered with acoustic foam panels. Then cover the construction with a cloth and your movable sound absorbing wall is ready, which you can adjust at any time. It makes sense to build at least three of these walls in order to be able to treat a space acoustically. Another possible, but more expensive, option is a transportable vocal booth such as the t.akustik vocal booth.

Tidy cables always ready to go!

Click for product page
Cables that are not currently in use are stowed away, of course, but at the same time must be within reach as quickly as possible. You can use cloakroom hooks or self-adhesive towel hooks for this along your desk or adjacent furniture for example. The hooks for gardening tools that you will find at the local hardware store are also suitable for cables. No matter what you choose, the key is to avoid knots and tangles! It is also smart to use velcro cable ties.

Click for product page


You are currently viewing a placeholder content from Facebook. To access the actual content, click the button below. Please note that doing so will share data with third-party providers.
More InformationYou are currently viewing a placeholder content from Instagram. To access the actual content, click the button below. Please note that doing so will share data with third-party providers.
More InformationYou are currently viewing a placeholder content from X. To access the actual content, click the button below. Please note that doing so will share data with third-party providers.
More Information